Set Up a Team Approval Workflow
When more than one person touches a brand's social presence, "post when ready" isn't good enough. This guide shows agencies and teams how to set up Krafon so every post is drafted by one person and signed off by another before it ever publishes.
Goal: Build a review pipeline where content flows from draft → approval → schedule, with clear roles and a record of who did what.
Required sign-off and multi-workspace setups are emphasized on the Growth and White Label plans. See Billing for plan details.
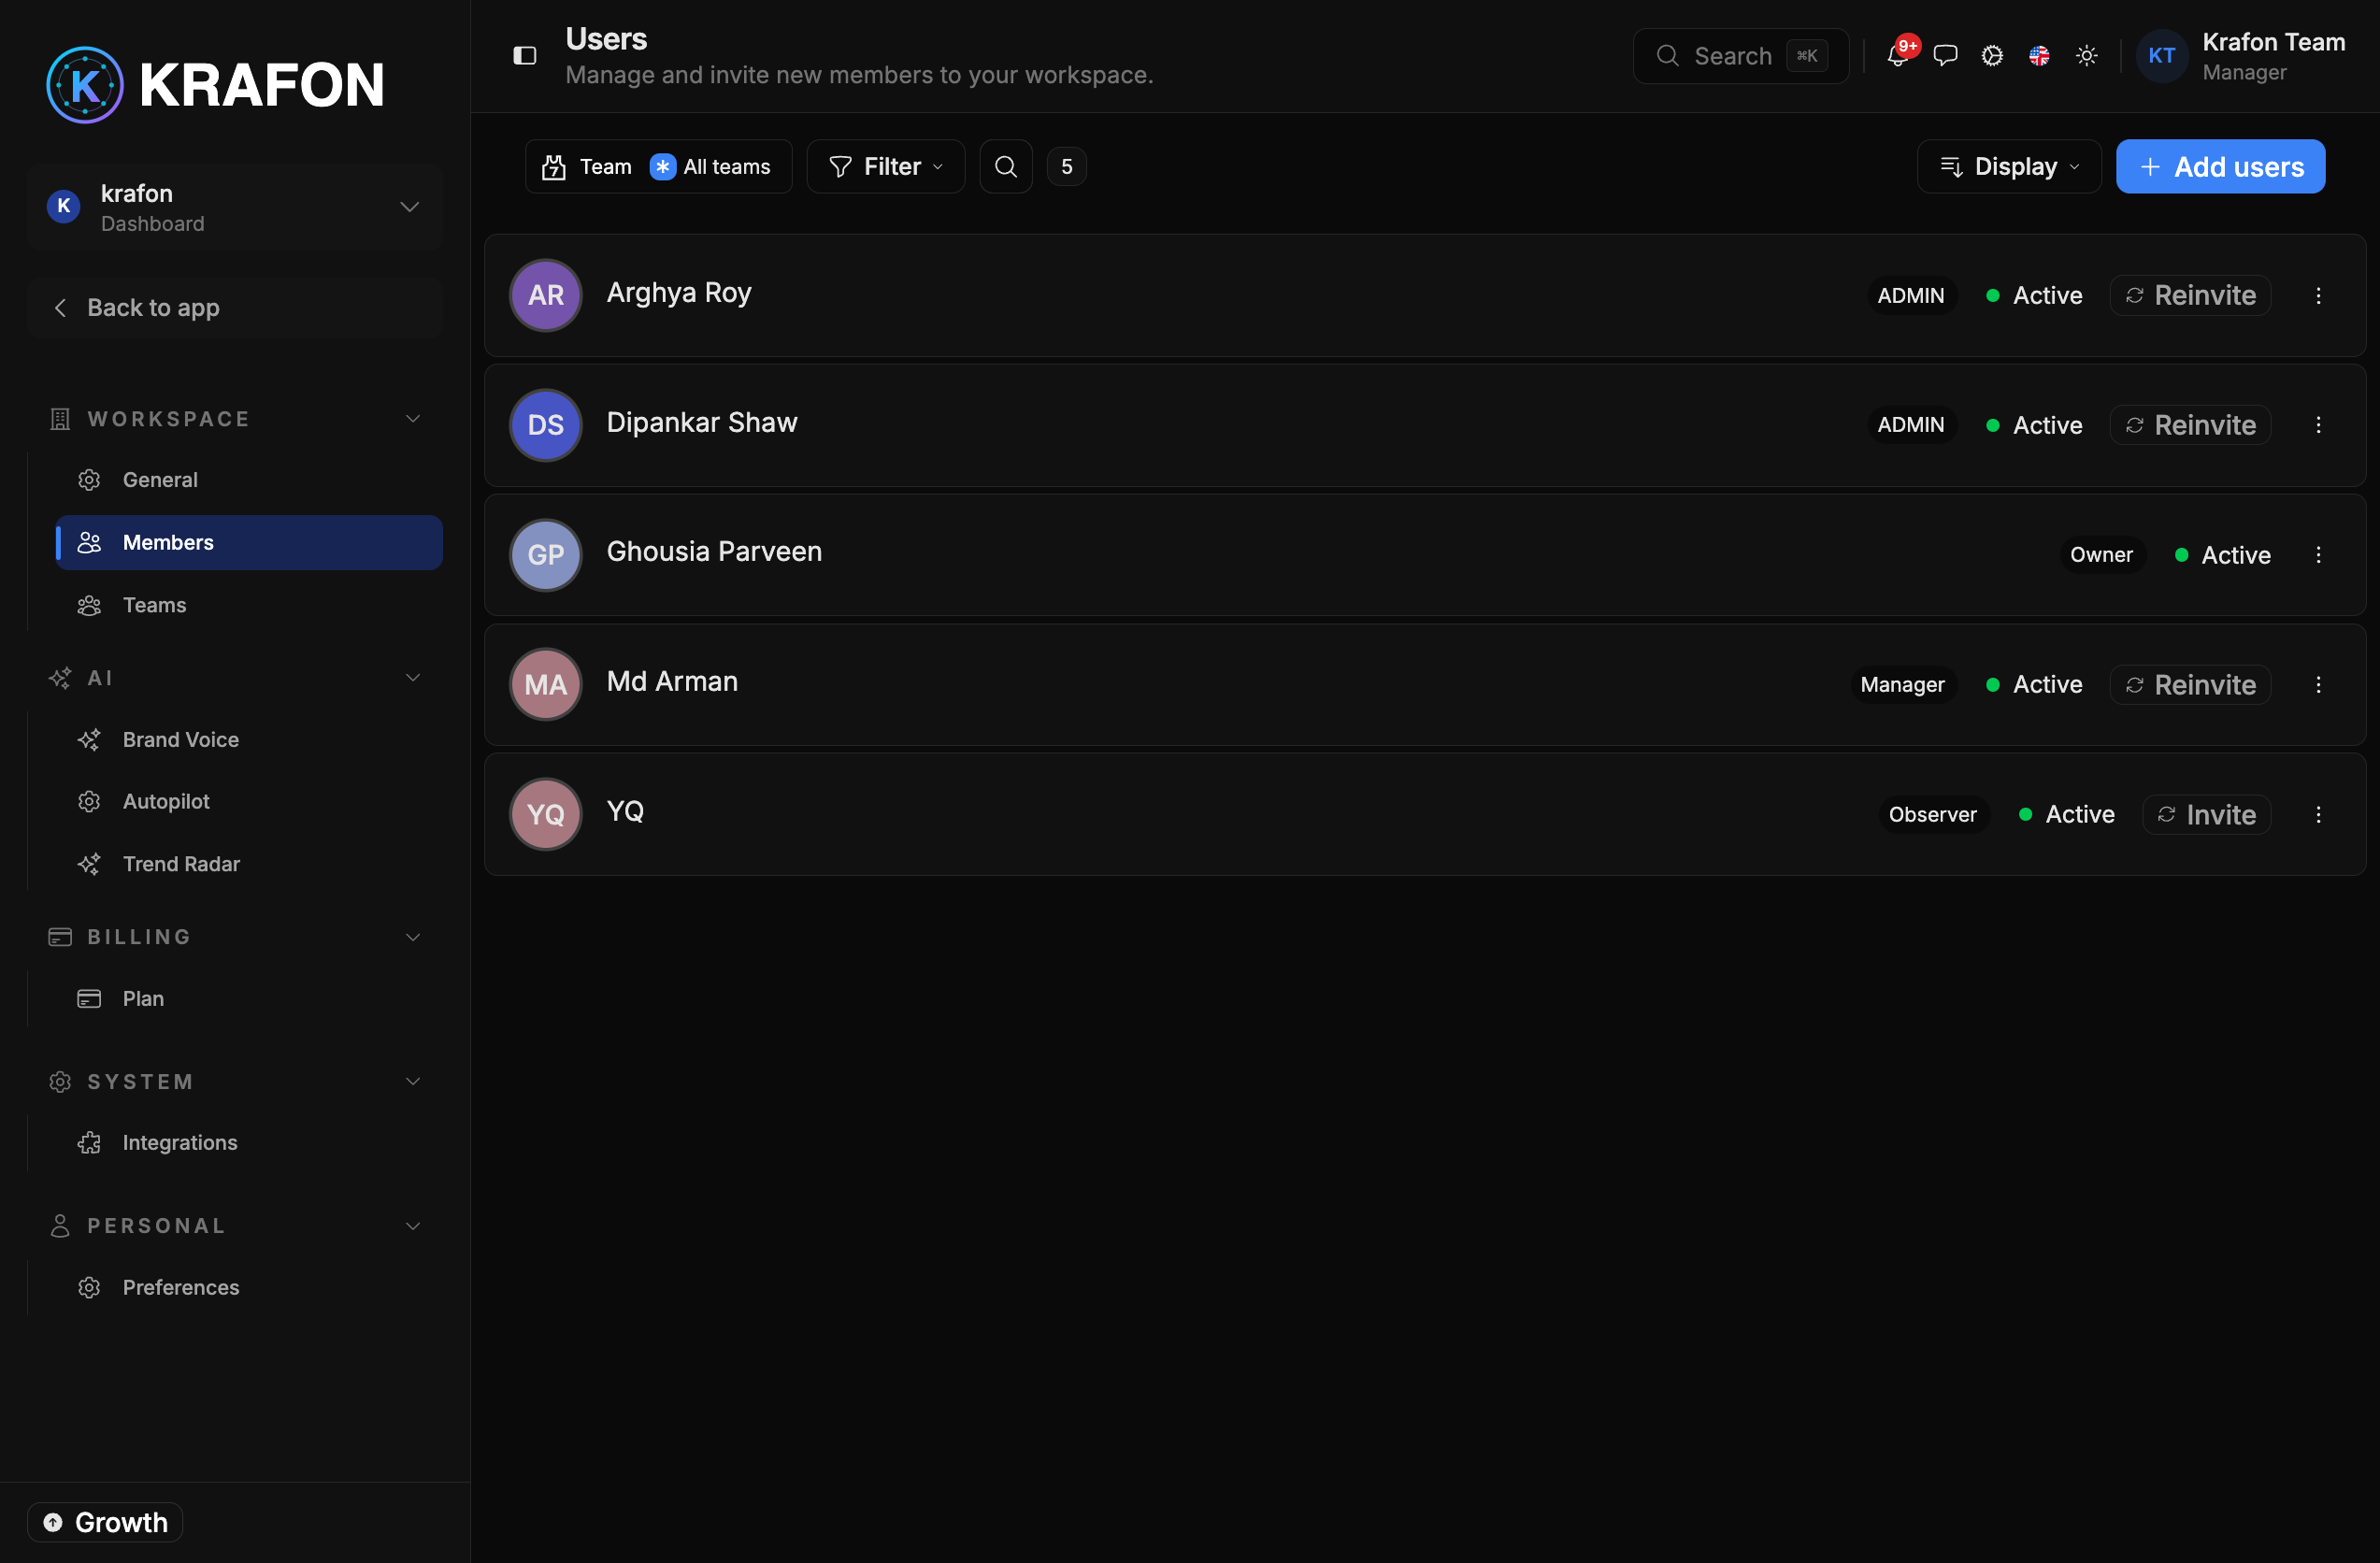
Step 1 — Invite teammates and assign roles
Roles control who can do what, from full access to view-only.
- Invite your teammates to the workspace.
- Assign each person a role, from most to least access: Owner, Admin, Manager, Implementer, Team Member, Observer.
- Give drafters an Implementer or Team Member role, and reviewers a Manager or Admin role.
See Team and Roles.
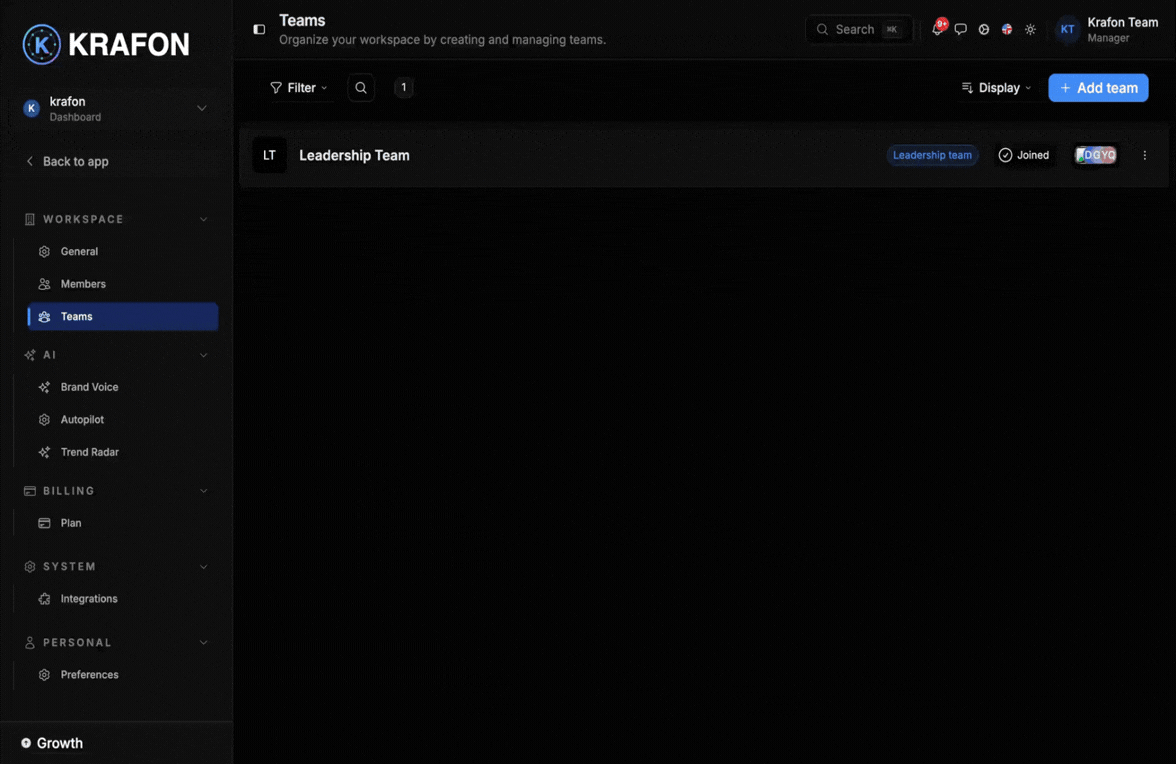
Step 2 — (Optional) Organize people into Teams
If you manage multiple brands or pods, group people into Teams so the right people see the right work.
- Create a Team per client or pod.
- Add the relevant drafters and reviewers.
This keeps assignments and approvals tidy as you scale.
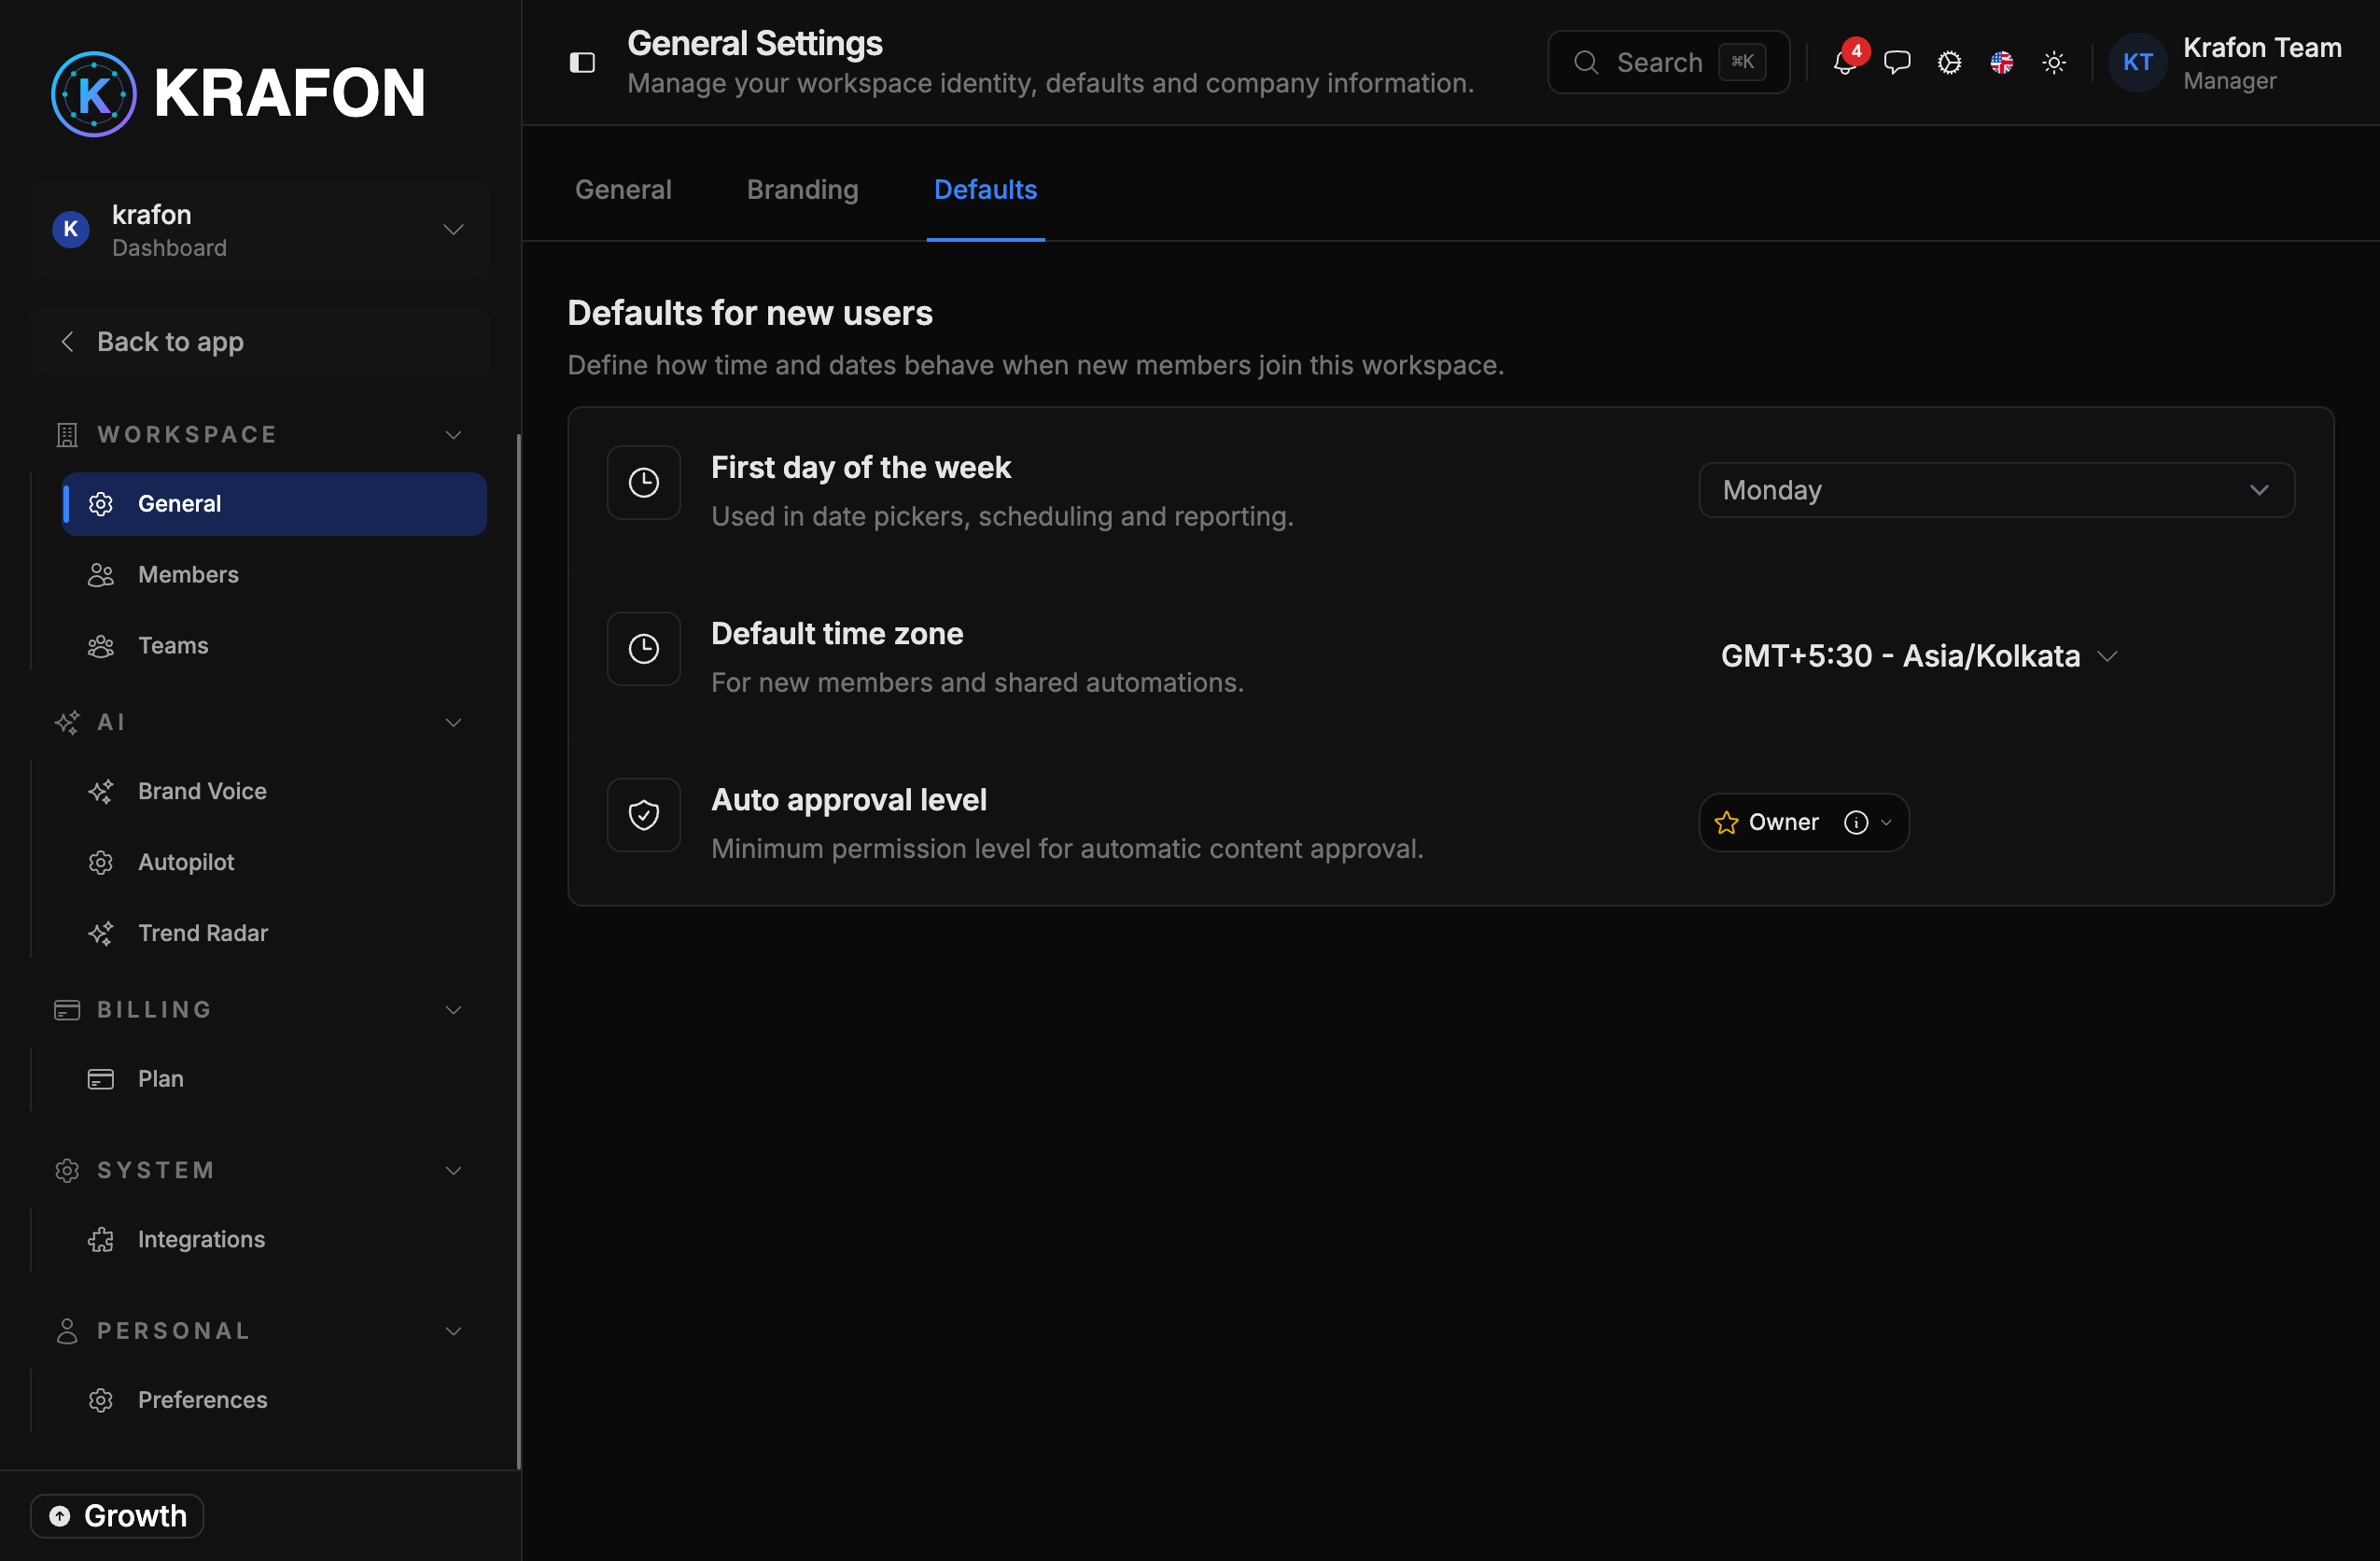
Step 3 — Require sign-off at the workspace level
This is the switch that makes approvals mandatory.
- Open your workspace settings.
- Set the approval level so posts require Manager/Admin sign-off instead of auto-approving.
If the workspace is set to auto-approve, posts skip the Approval Queue and go straight to scheduling. For a true review workflow, turn auto-approve off.
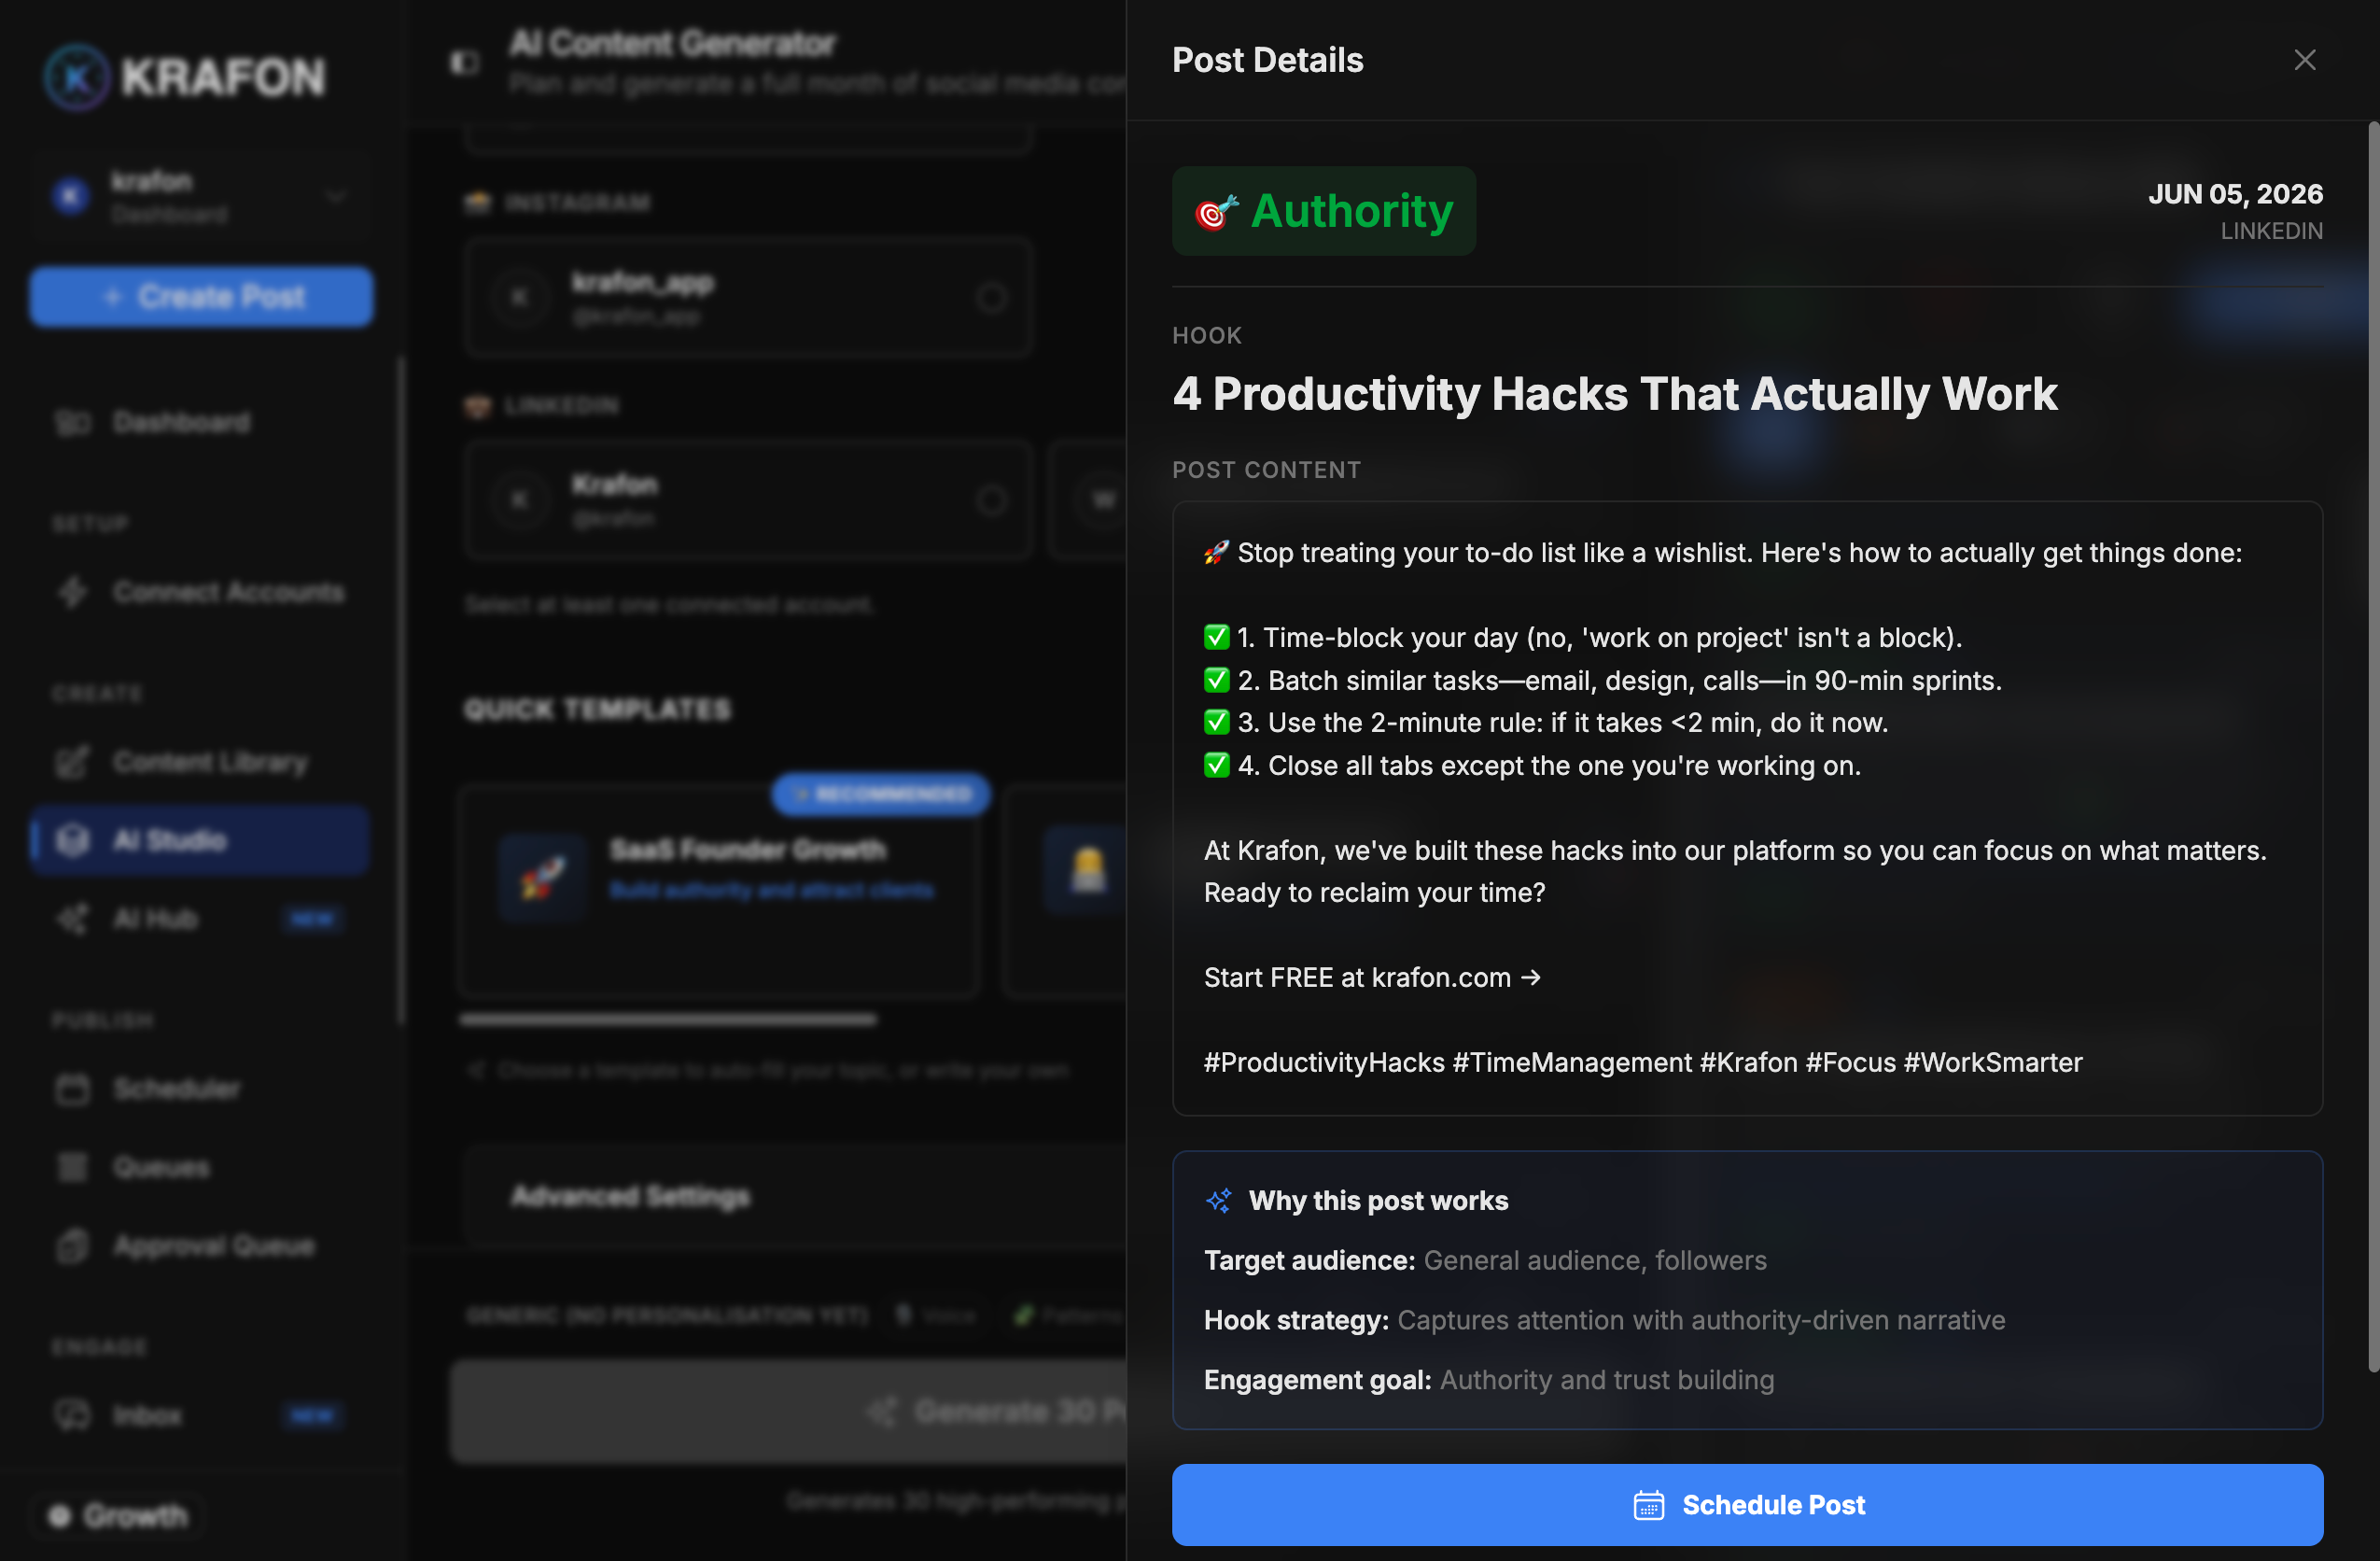
Step 4 — Drafters create content
Now your Implementers and Team Members do what they do best.
- They generate or write posts in AI Studio (
/<workspace>/aicontent) and refine them in Content Studio (/<workspace>/library/studio). - When a post is ready, they submit it for approval.
Because the workspace requires sign-off, submitted posts route to the Approval Queue automatically.
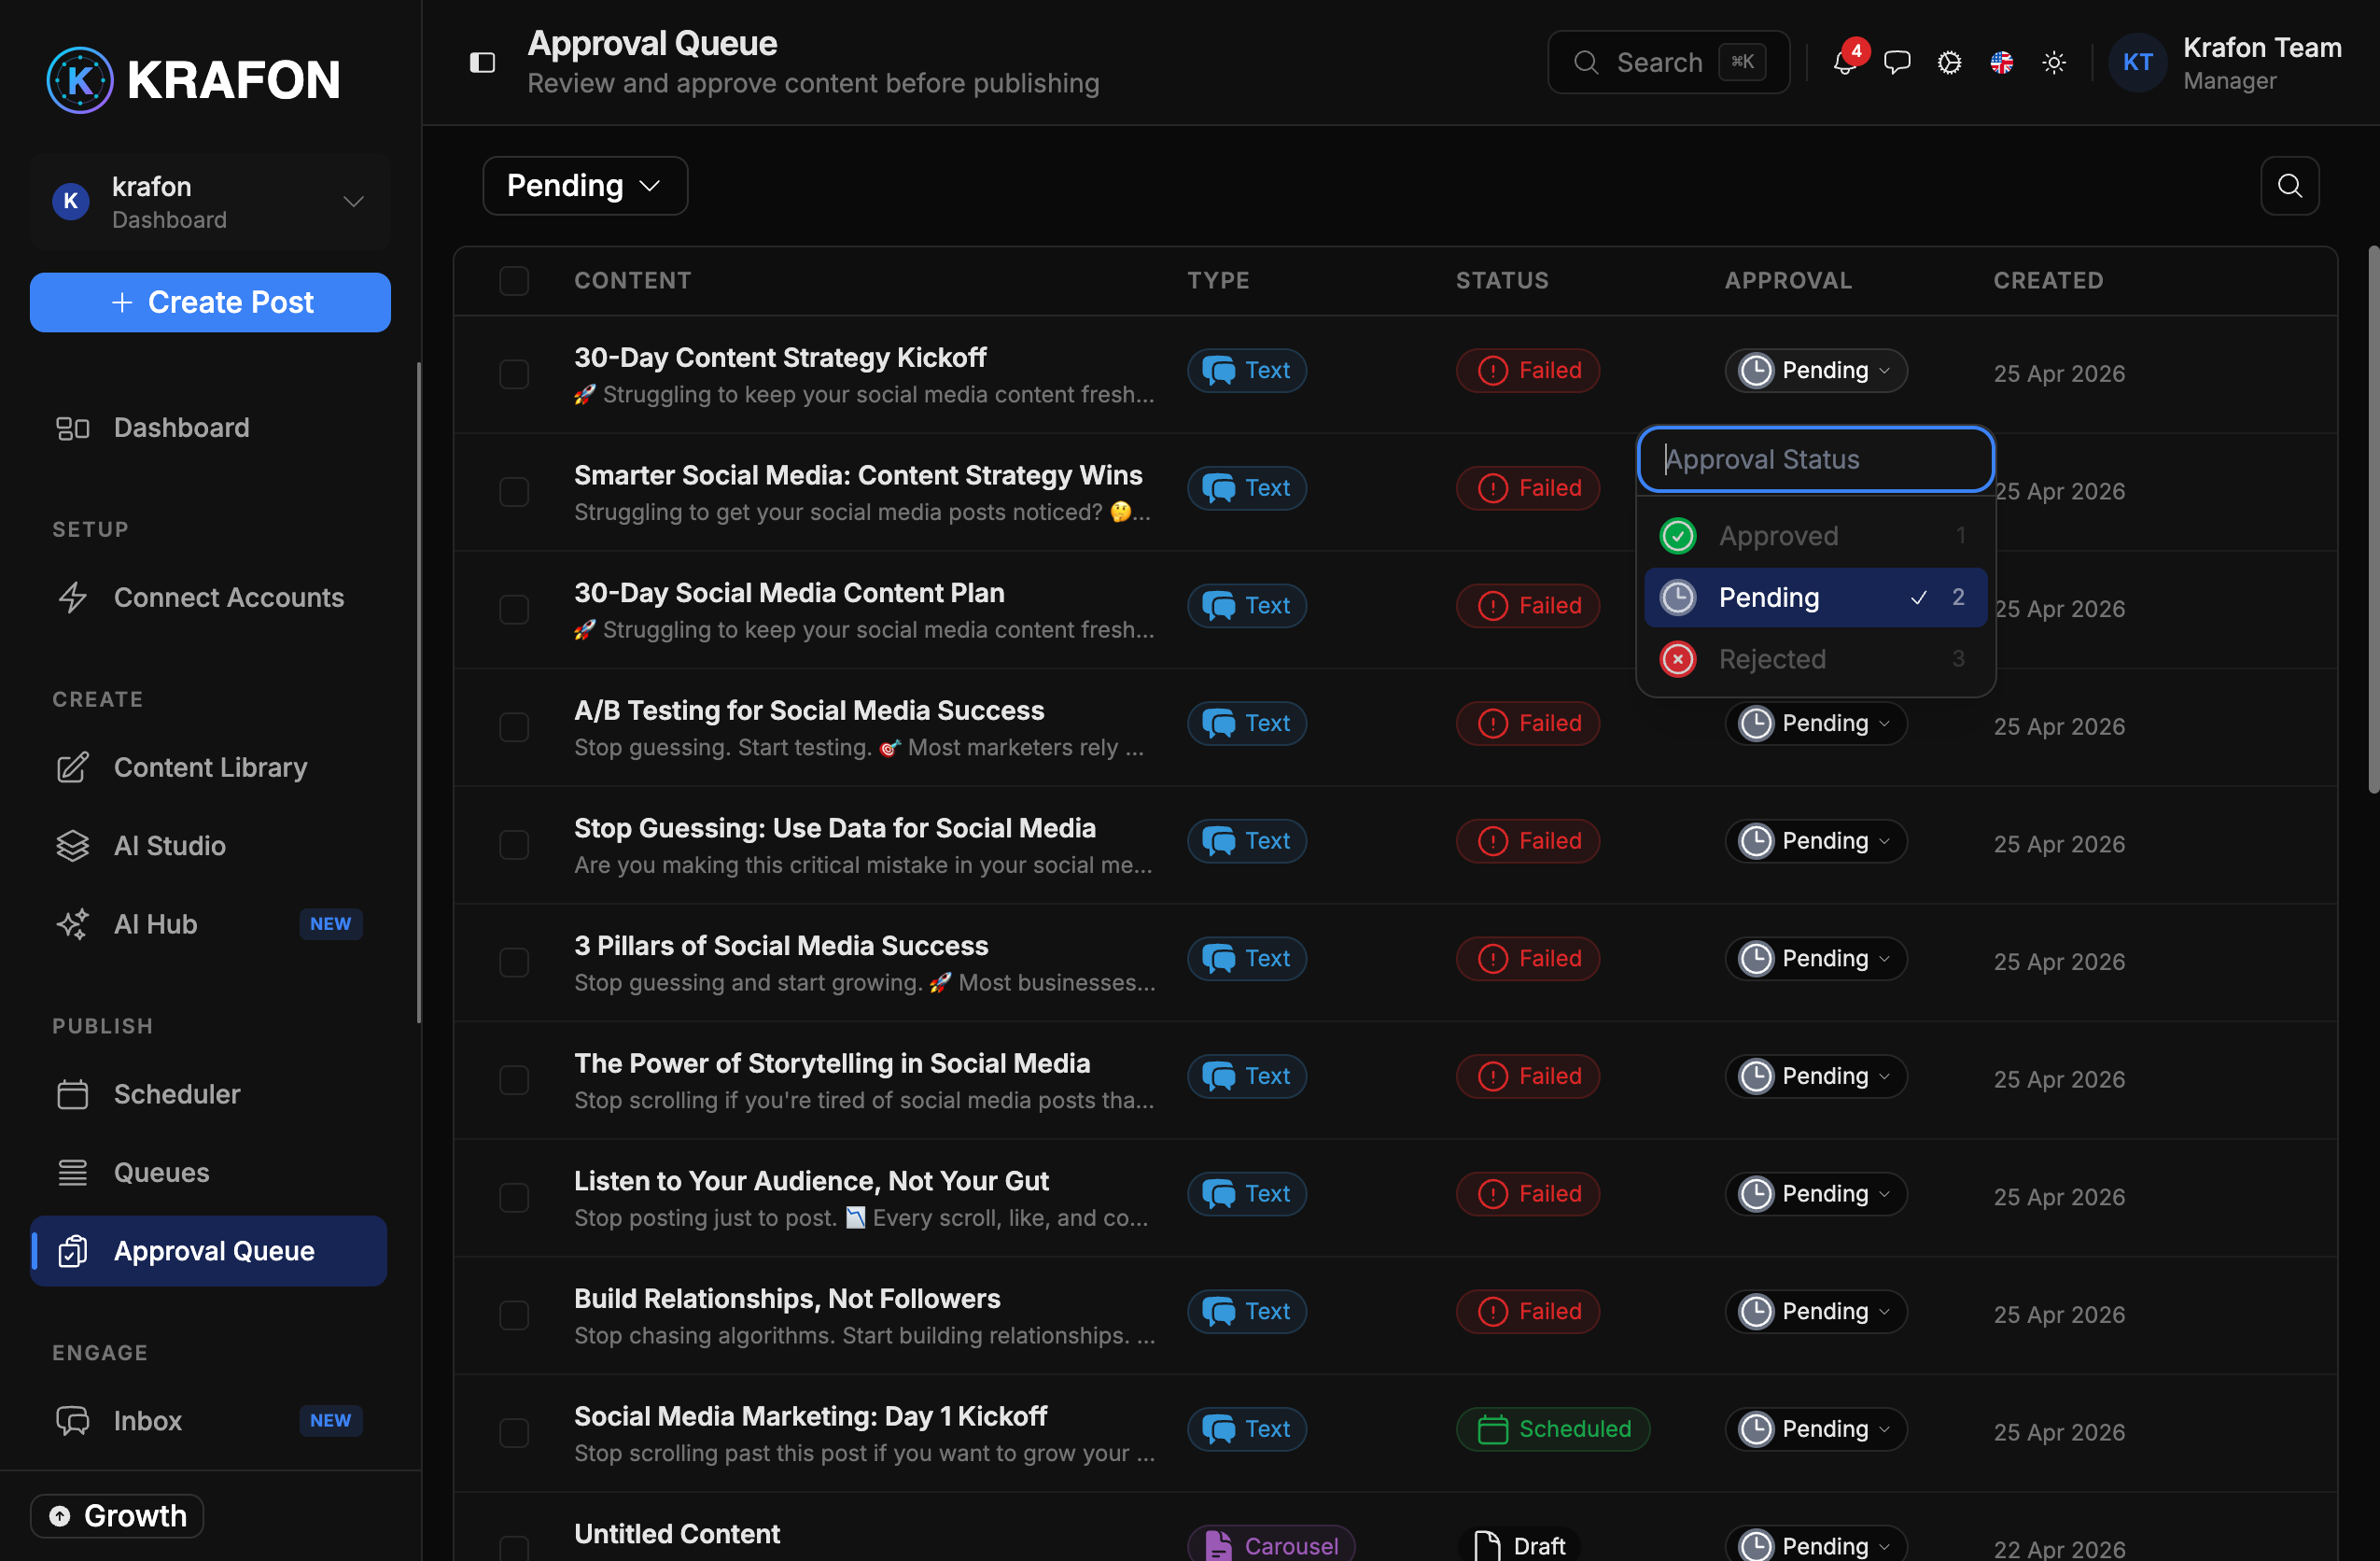
Step 5 — Reviewers approve in the Approval Queue
The Approval Queue is where Managers and Admins make the call.
- Open the Approval Queue at
/<workspace>/library/approval. - For each post, approve, request revisions (send it back with notes), or reject it.
- Approved posts move on to be scheduled or published.
See Approval Queue.
"Request revisions" with a clear comment is faster than rejecting and re-explaining. It keeps the post and its history intact.
Step 6 — Approved posts schedule and publish
Once approved, posts flow into the calendar or Queues just like any other content — and publish at their scheduled time, on your official connected accounts.
Keep everyone accountable
Use the Activity Log to see who drafted, approved, edited, or scheduled each post. It's your audit trail when a client asks "who approved this?" Find it in Settings.

What's next
- Build the content that flows through this pipeline with the Monthly Content Workflow.
- Tighten quality across the board with Best Practices.