First steps after onboarding
You've created your account, finished onboarding, and connected a social profile. Now for the fun part — turning Krafon loose on your content. Here's what to do next.
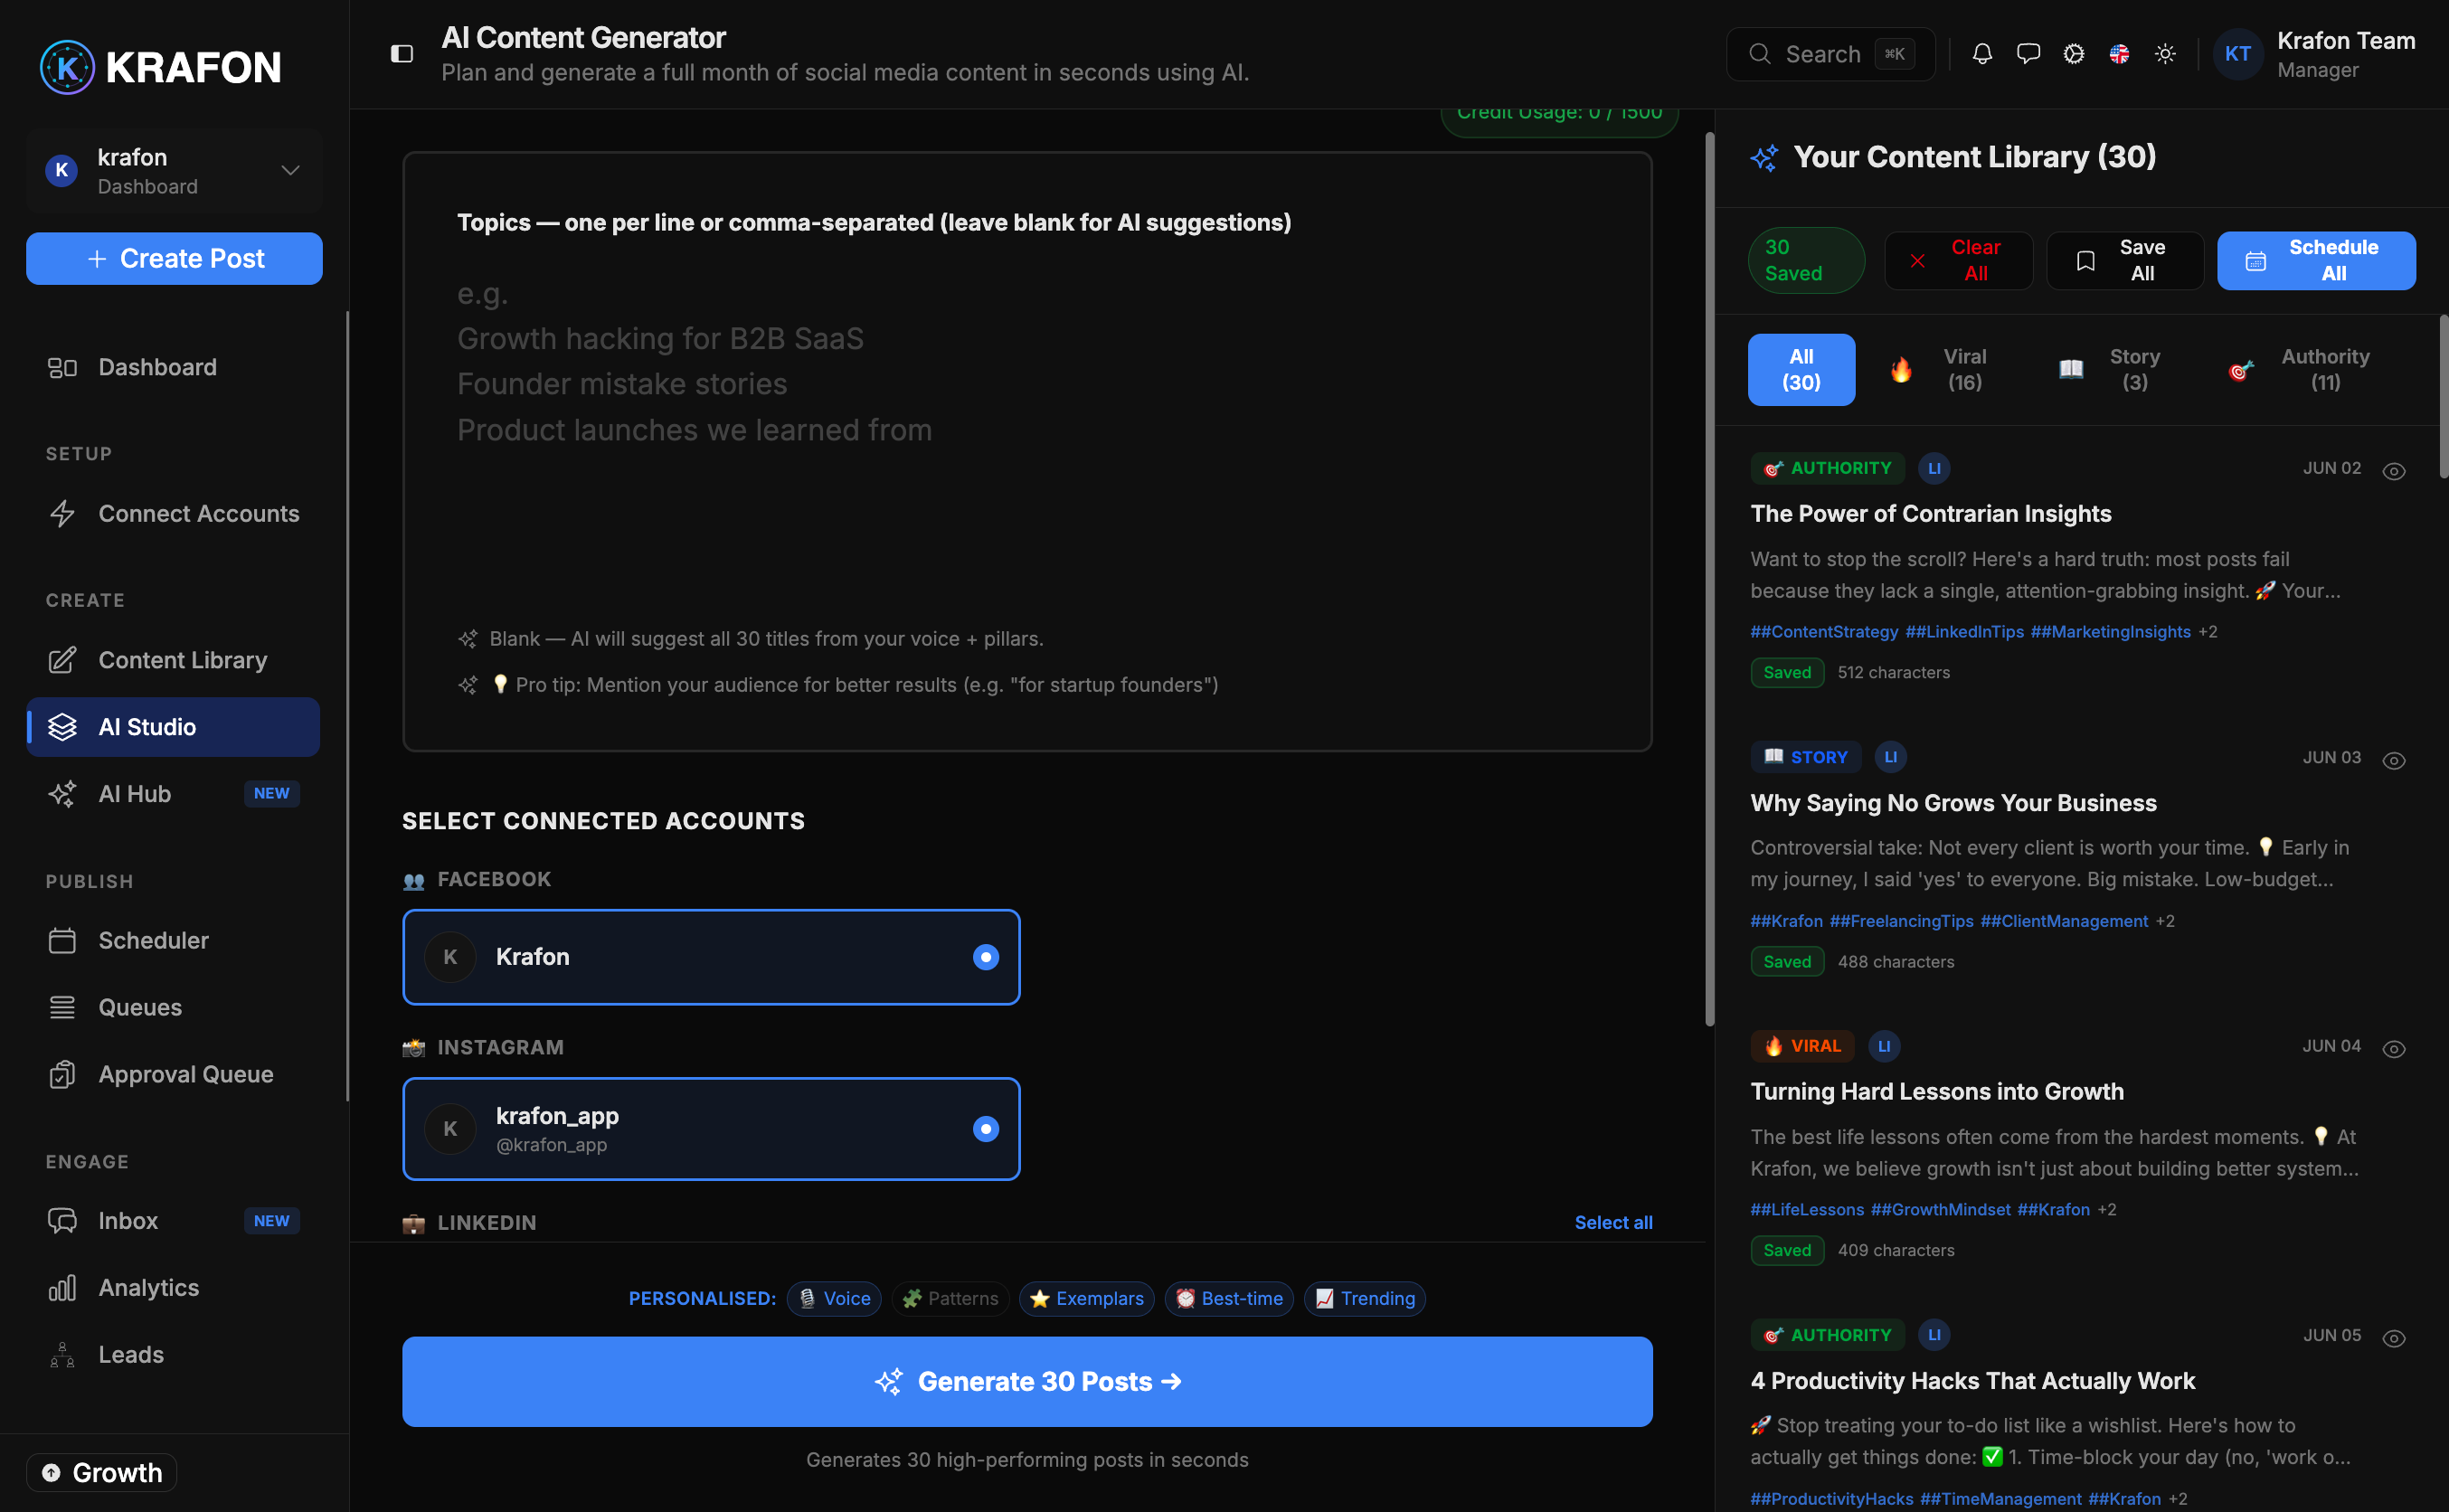
1. Generate your first batch of posts
Open AI Studio and let the AI generate a batch of posts at once. Because it draws on your Brand Brain, the drafts already match your voice, audience, and topics — so you start with real material instead of a blank page. → AI Studio
2. Refine in Content Studio
Move your drafts into Content Studio to polish them: tweak the caption, swap or generate visuals, adjust hashtags, and tailor each post per platform. → Content Studio
3. Schedule your posts
Decide when posts go out — two ways:
- Calendar — Drag posts onto specific dates and times for full control. → Scheduler
- Queue — Set posting slots once and let Krafon fill them automatically, so your calendar stays full without manual scheduling. → Queues
Scheduling never means losing control. Krafon publishes on schedule, but only posts you've approved go out.
4. Turn on Autopilot
Once you trust the flow, switch on Autopilot to keep your queue topped up with fresh, on-brand content automatically — the heart of the "on autopilot" promise. → Autopilot
5. Watch your dashboard
Your Dashboard is home base: upcoming posts, recent performance, account health, and what needs your attention all in one view. Check in here to see your momentum build. → Dashboard
The biggest win is consistency. Once Autopilot and a queue are running, your presence stays active with just a few minutes of review.
Go deeper
- 30 days of posts in 5 minutes — the full fast-path walkthrough.
- Best practices — tips to get the most out of Krafon.